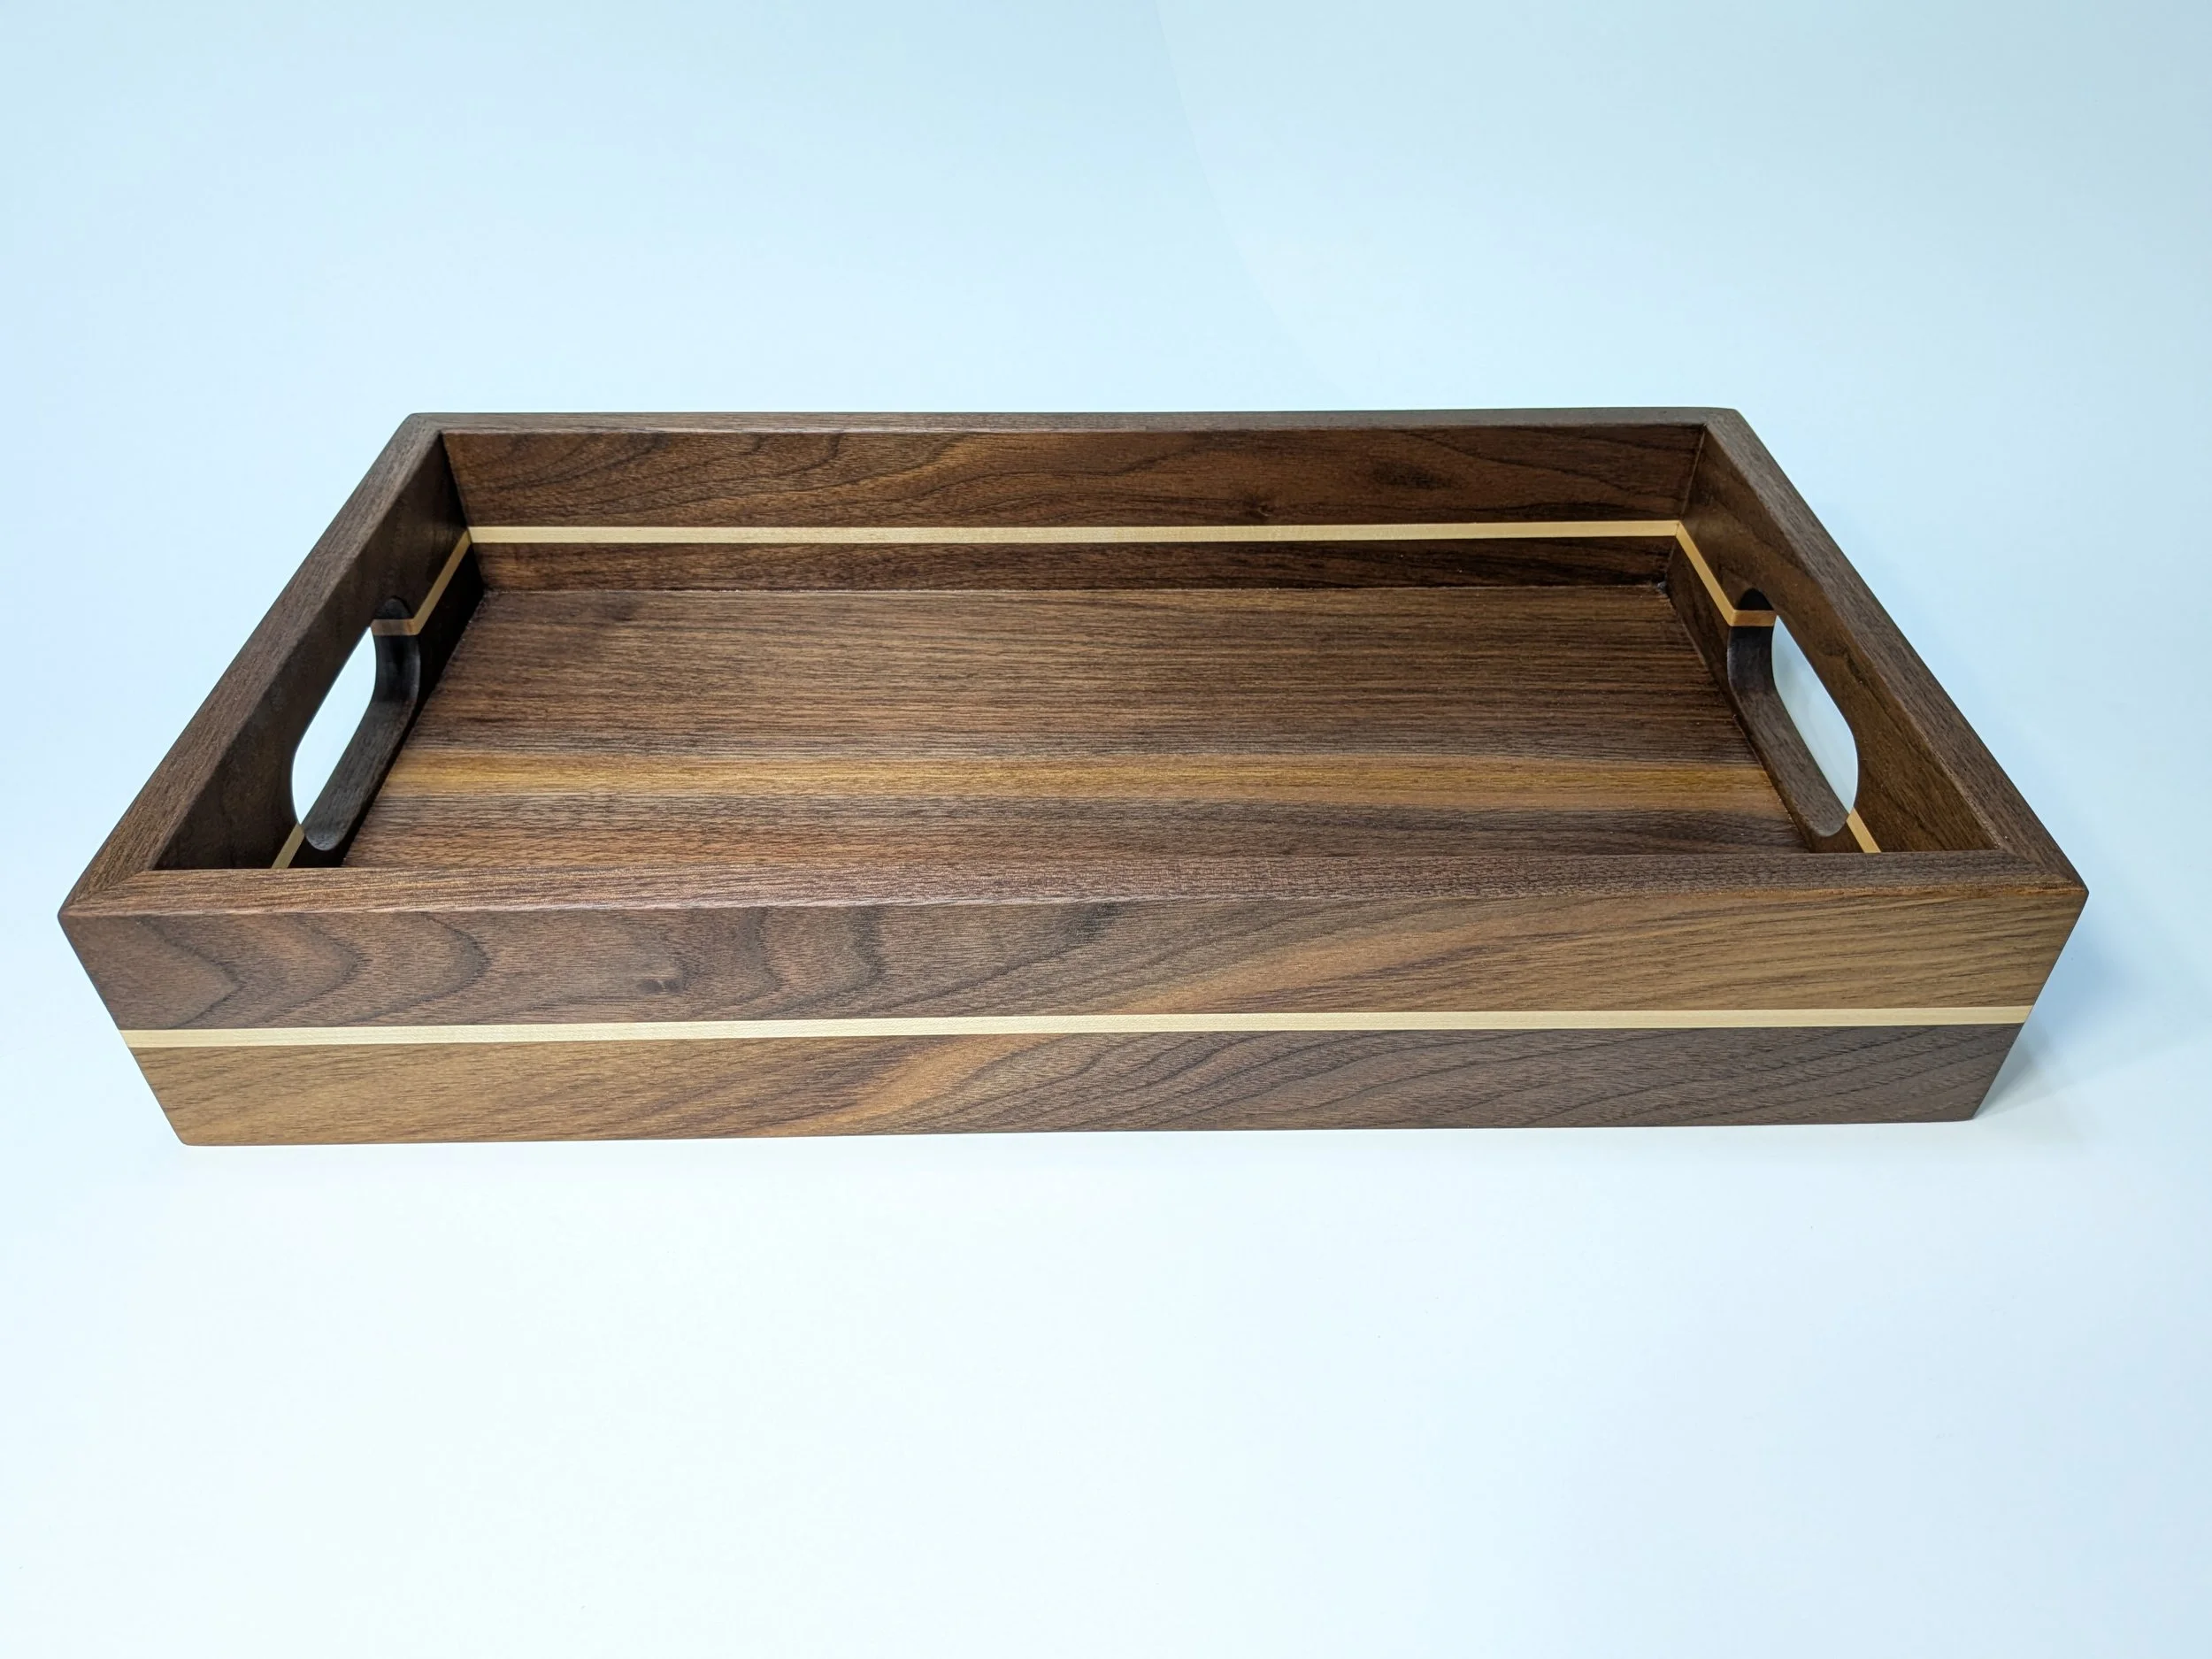
How to Make a Wooden Serving Tray with Handles (Even If You Make Mistakes)
There’s something deeply satisfying about taking a rough piece of walnut and turning it into a functional piece that might live in someone’s home for generations. In this post, I’ll walk you through how I built a handmade wooden serving tray with handles — from milling and joinery to finishing and (let’s be real) fixing a few frustrating mistakes along the way.
If you're searching for how to make a DIY wooden tray with handles, especially one with a modern, river-style sapwood look, this post will guide you through the process step-by-step. Whether you’re a woodworking beginner or someone with a few projects under your belt, I’ll share both my process and lessons learned.
🪵 Step 1: Choosing Your Wood and Getting the Vision
For this project, I used a random walnut board I had in the shop. It had a lot of sapwood, which gave me the idea for a center “river” design. I love incorporating natural contrasts like this. Sapwood often gets a bad rap, but when you lean into it, you can get something really unique.
Tip: Look for boards that are a little longer than your final tray. That extra length gives you room for error (I sure needed it).
🧰 Step 2: Cutting and Jointing the Boards
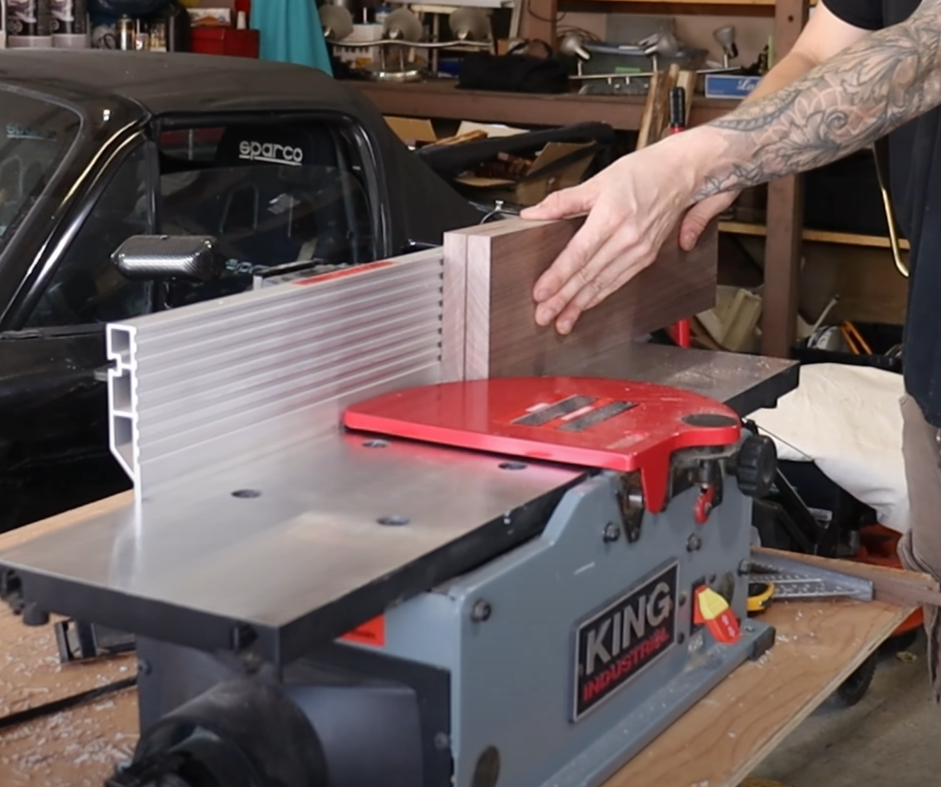
The walnut boards were too wide for my jointer, so I slightly trimmed down the width first. One of my goals was to preserve the sapwood strip, so I cut some of the boards at a slight angle — not typical, but it worked for this design. I also cut the rough size for the side pieces at this point to save time on milling.
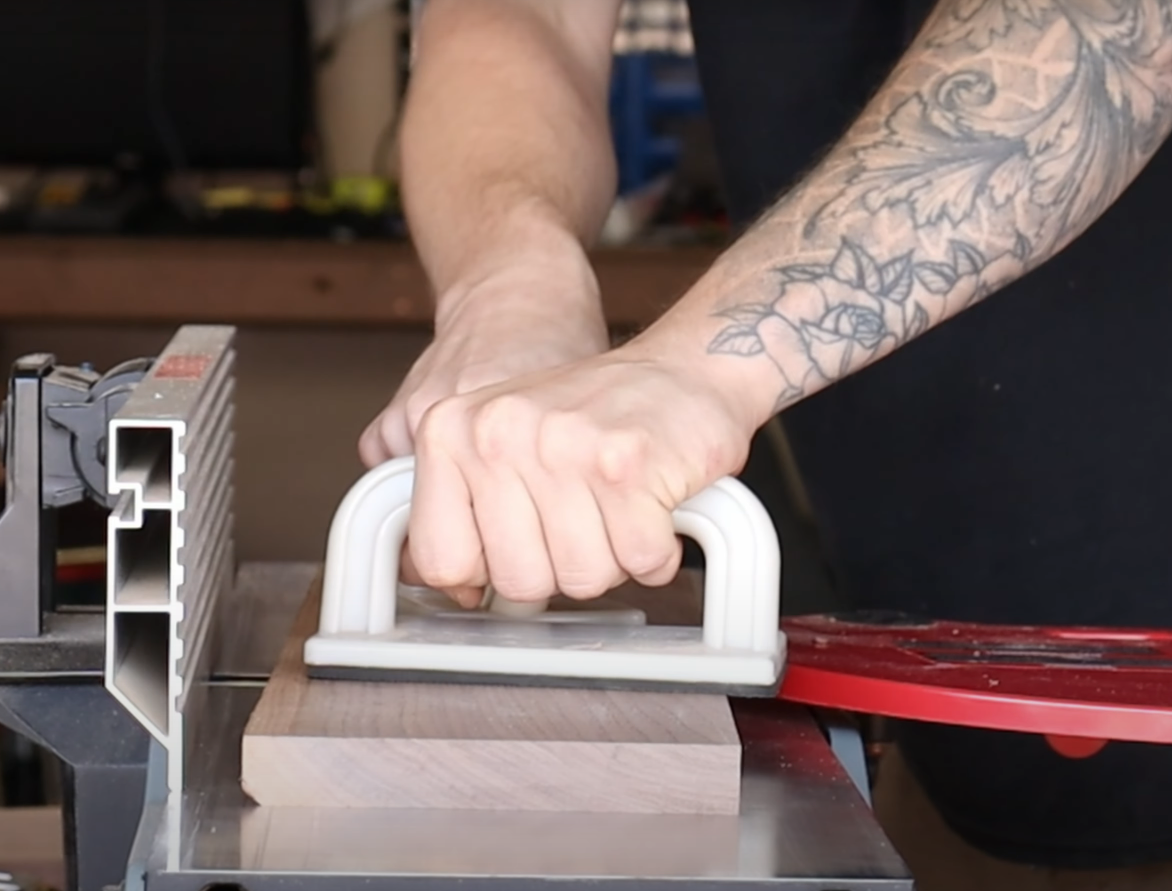

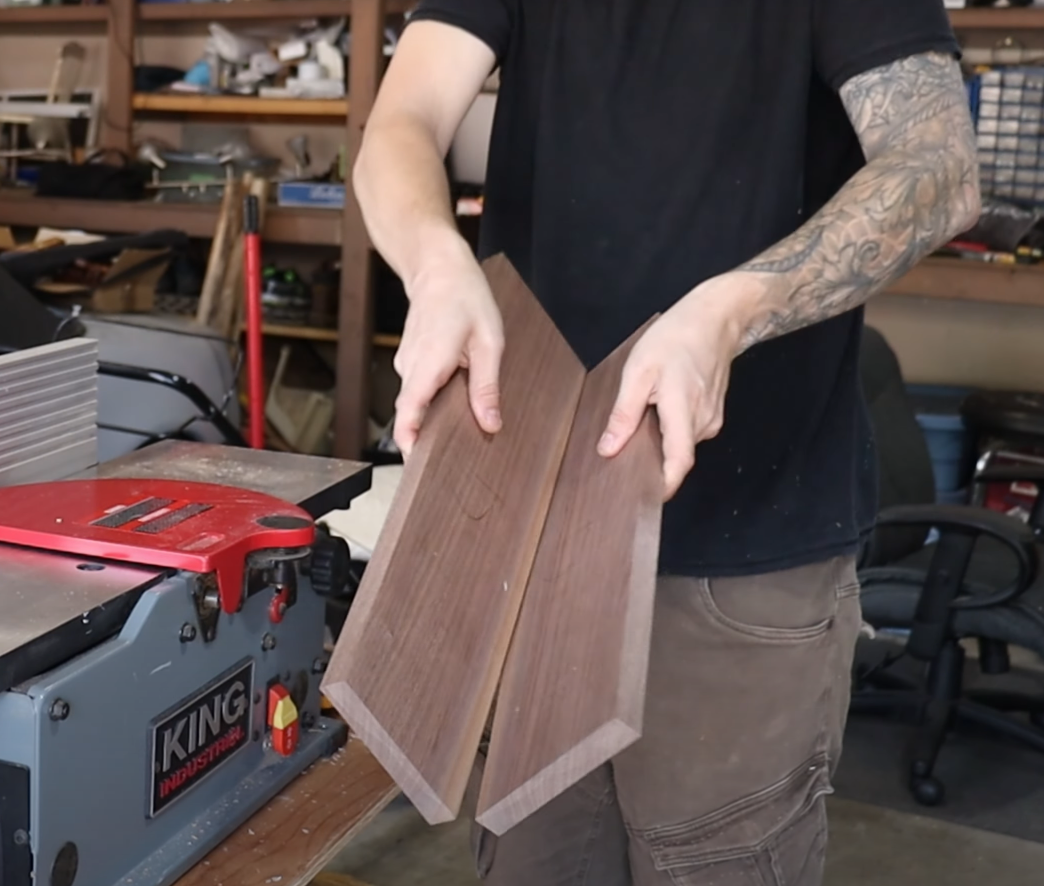
After jointing the edge, planing both sides, and squaring everything up, I laid out the two main tray panels so the sapwood met in the center. It gave the tray a “river table” look without any epoxy. But to ensure a tight joint, I folded the faces of the boards into each other and jointed the edges again. This ensures those two edges will perfectly match, providing a beautifully tight joint.

🪚 Step 3: Biscuit Joinery for the Win
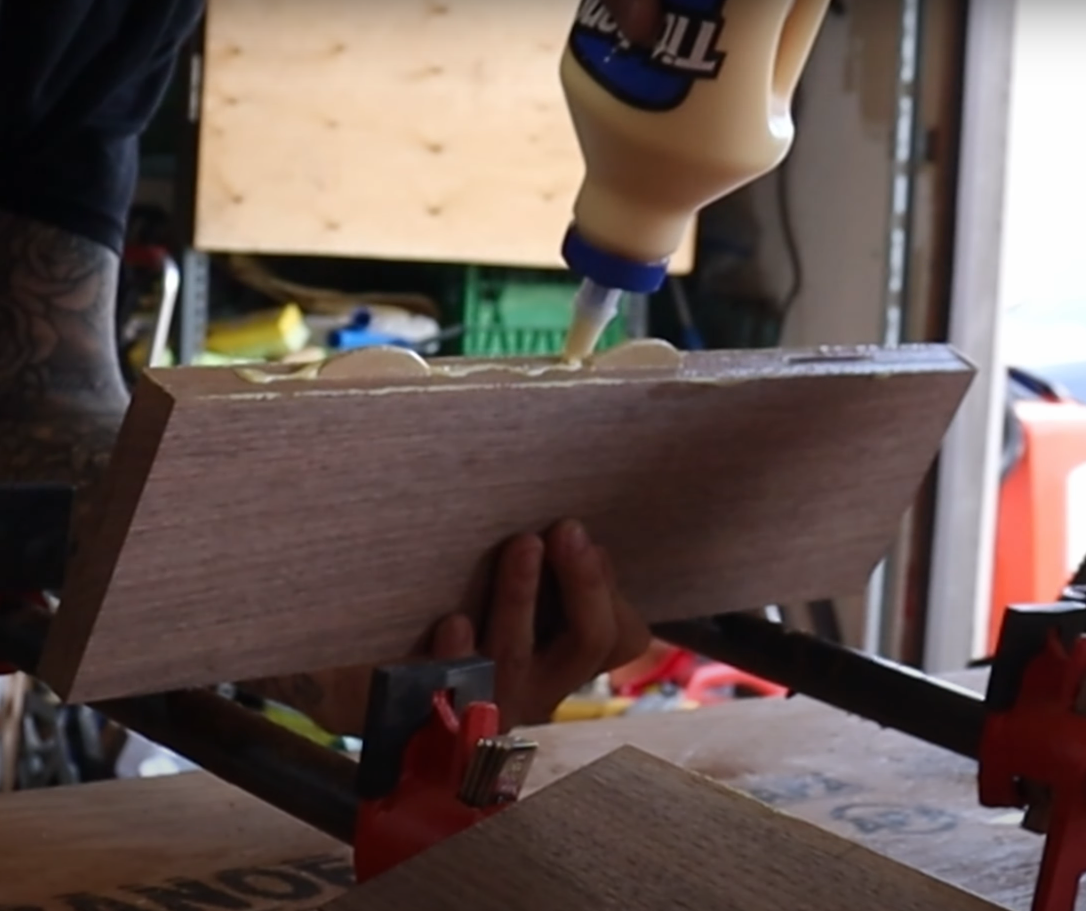
In my case, the sapwood wasn’t very deep on one of the pieces of wood, so I opted to use a biscuit jointer. This was actually my first time using a biscuit joiner. The goal was to align the two boards for glue-up and avoid any sliding during clamping. If you’re trying to preserve fine details like sapwood patterns, biscuit joinery can help you keep everything tight and aligned, and in my case, avoid cutting it all off when I run it through the planer.
Pro Tip: If you’re worried about gaps, save the sawdust from your cuts and rub it over the glue squeeze-out to fill in any micro-gaps during the clamp-up. It works surprisingly well!
✨ Step 4: Maple Accent Strips
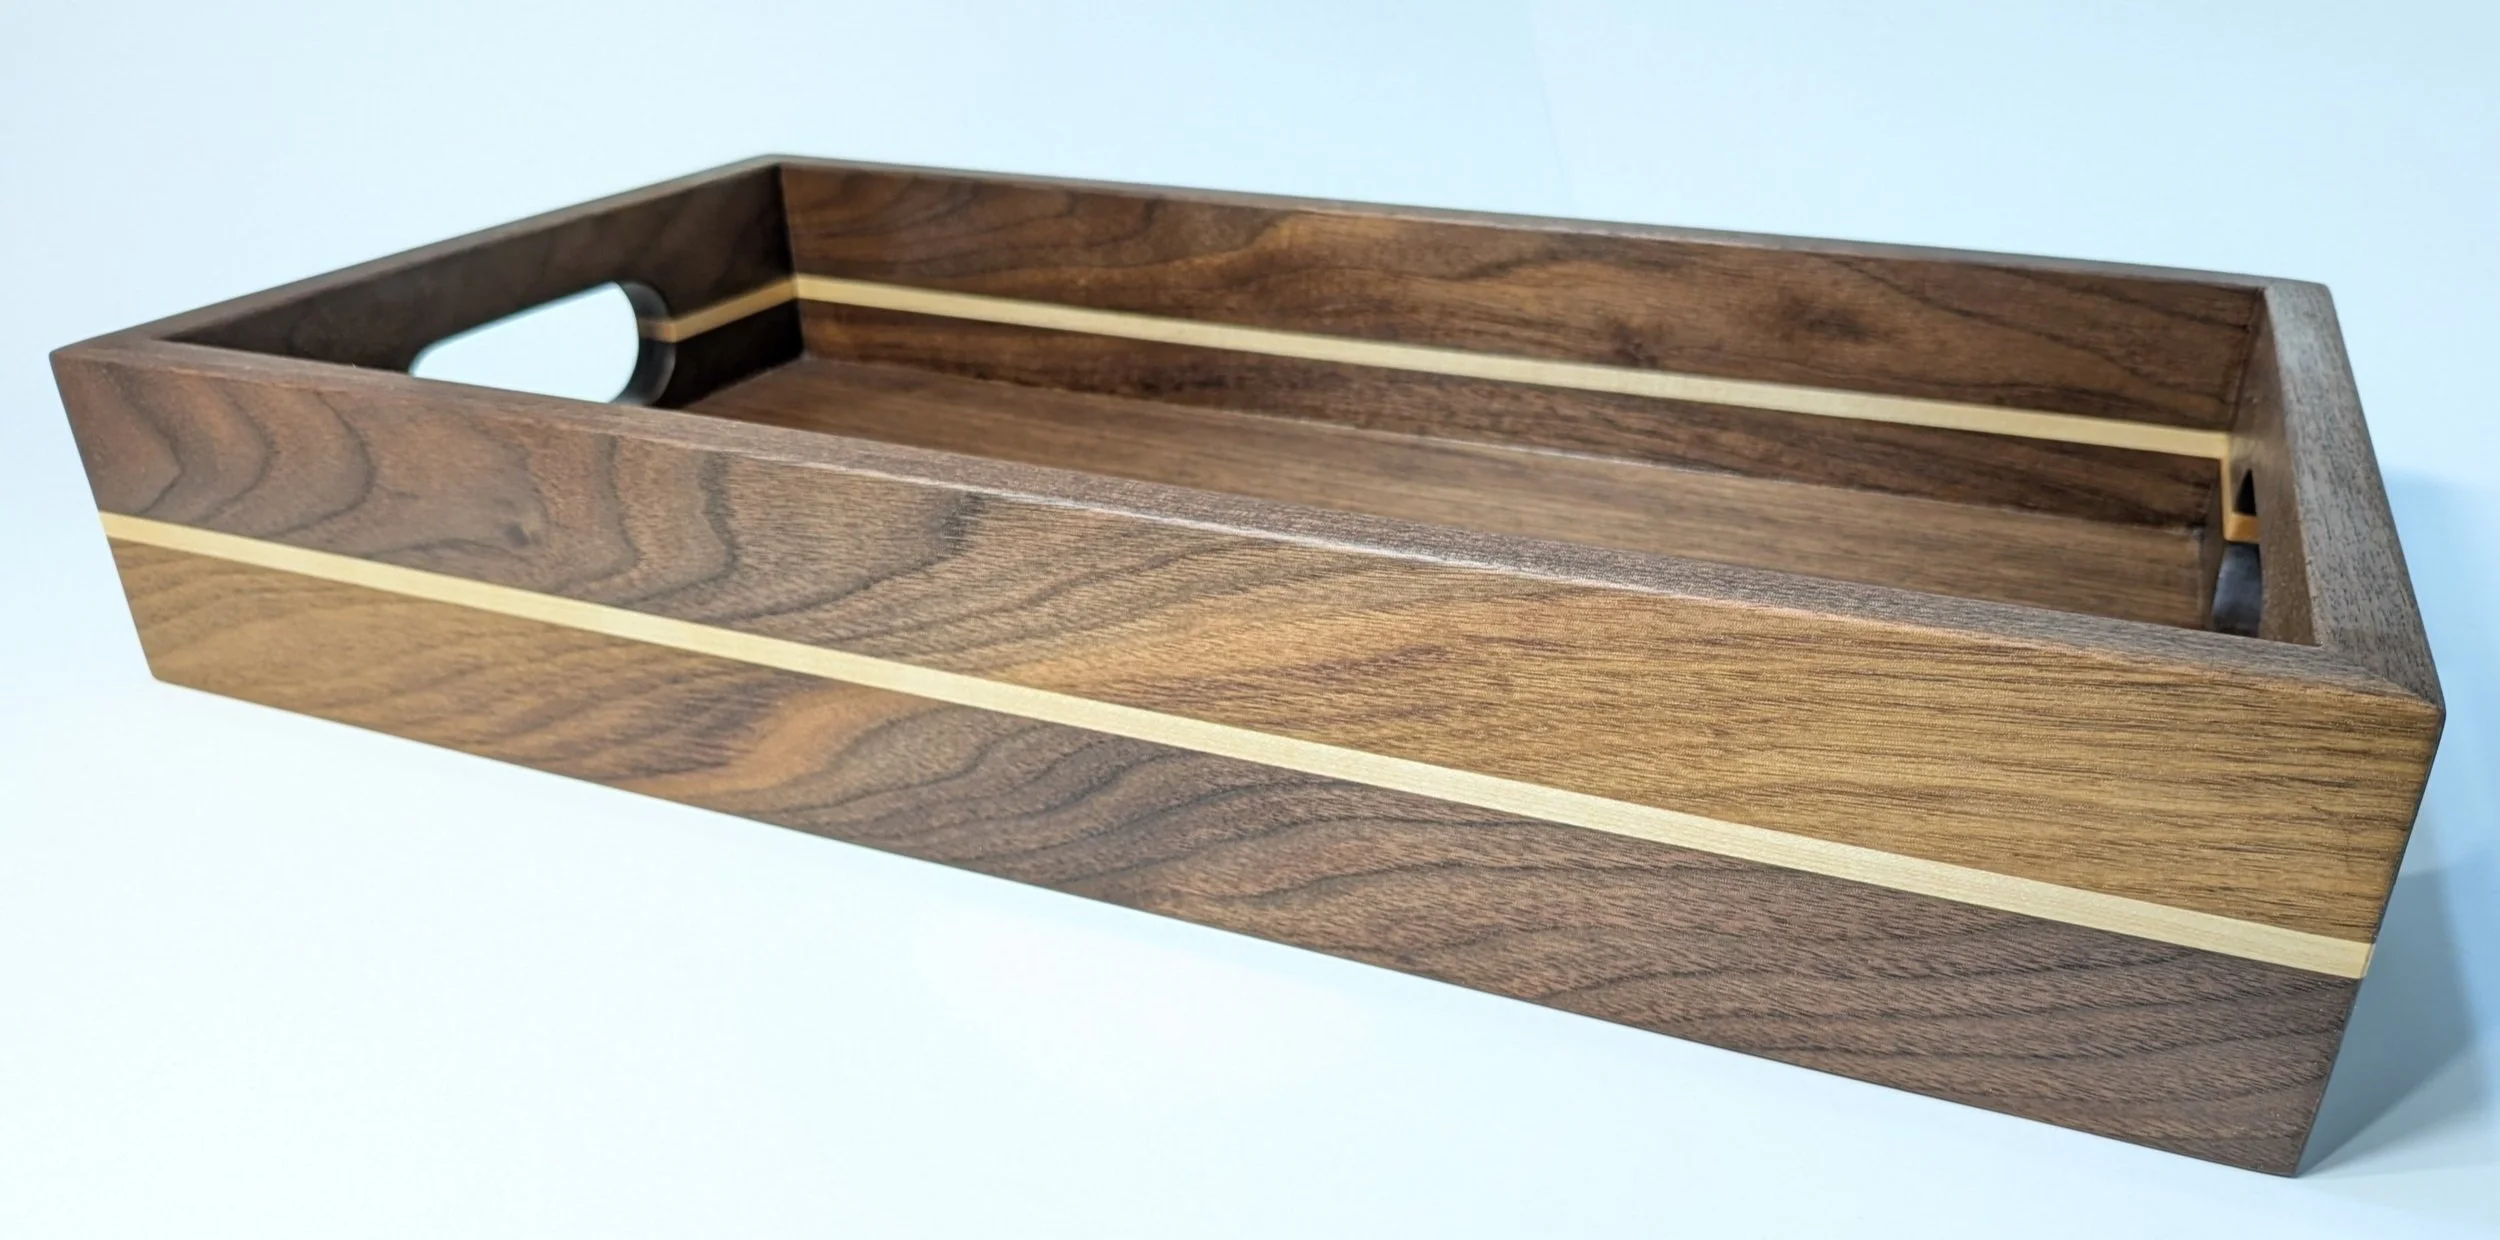
To give the tray a bit more polish, I cut the side pieces in half and added a thin maple inlay between the walnut. This contrast really helped the tray pop. This accent does make it a bit more difficult during the glue up as you’ll need all the sides to perfectly line up. So, consider this if you’re still a beginner.

Laying everything out before glue-up helped me visualize the flow of the sapwood and maple together. Honestly, this part turned out better than I imagined. One of the sides I made this cool swooping design using the sapwood. This will be the showpiece side.
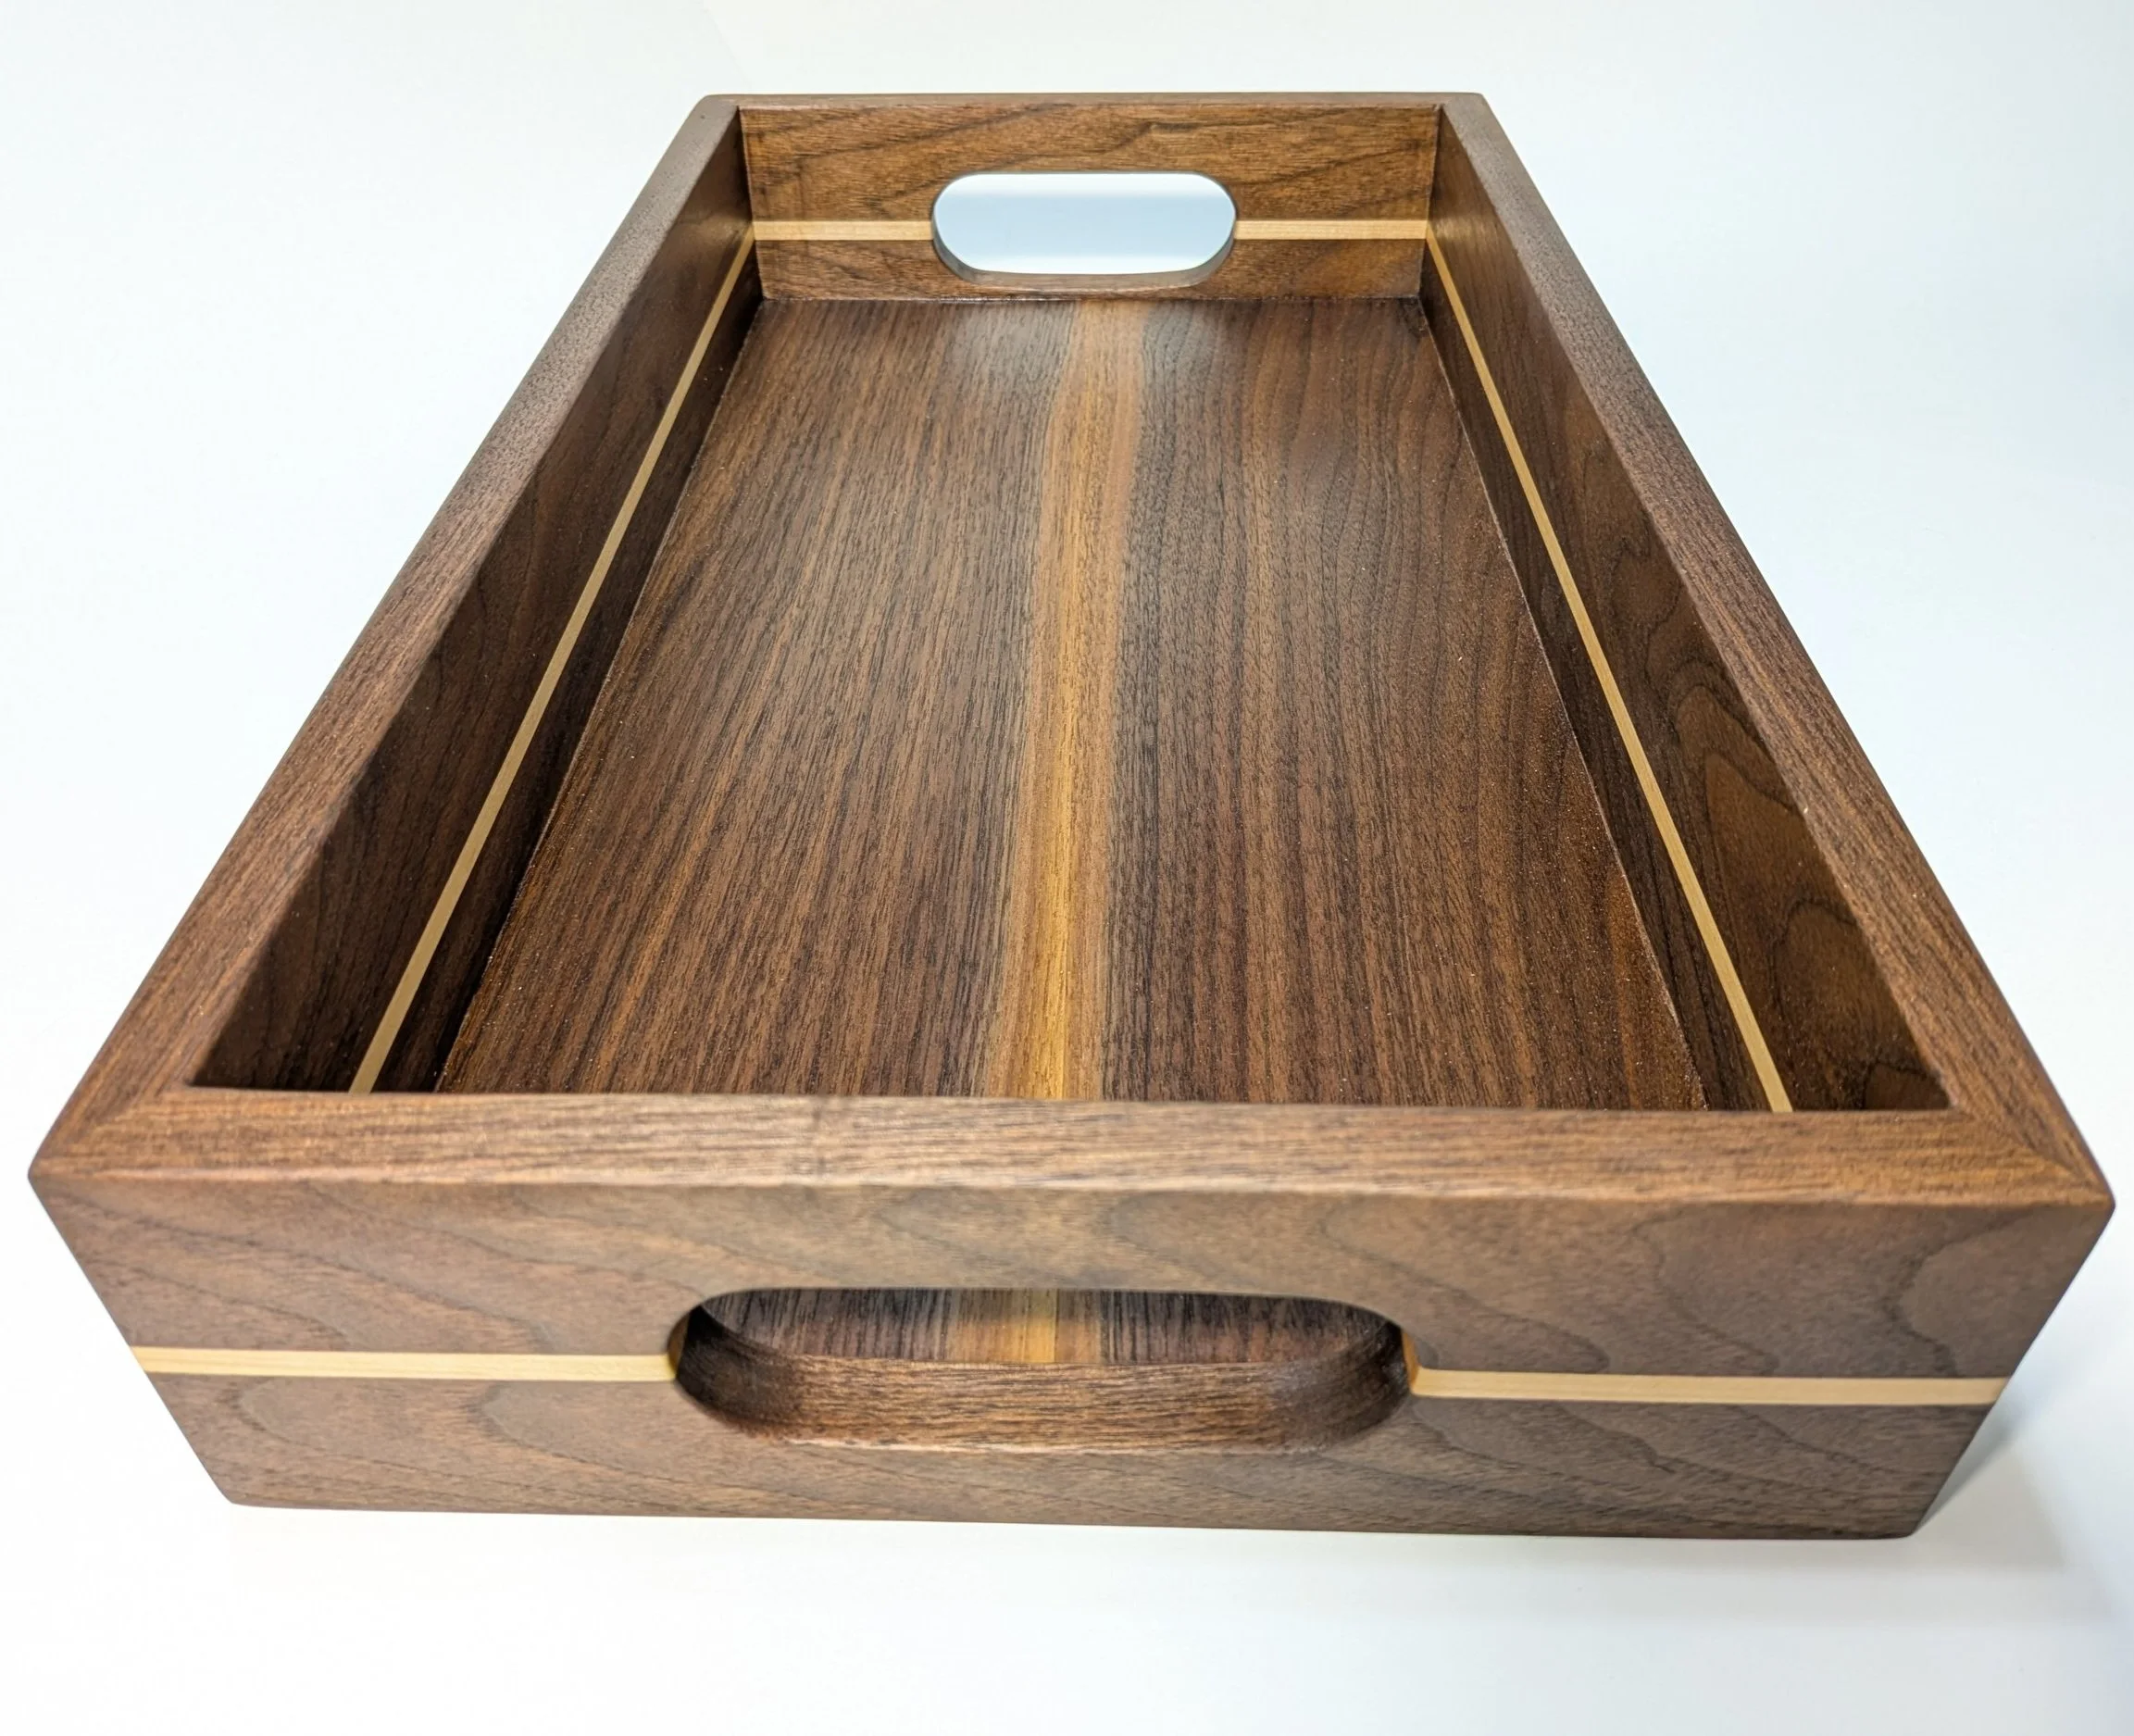
😬 Step 5: Handles (Where It All Went Wrong…)
I wanted to make the handles using a template, a Forstner bit, and a router… and, well… that didn’t go quite as planned.
I started by making a template out of MDF, which I screwed up, so I cut it in half, only keeping the “good side” of the template. I used a forstner bit to remove as much stock from the handle as I could, and let’s just say my routing job with the template didn’t go so great...
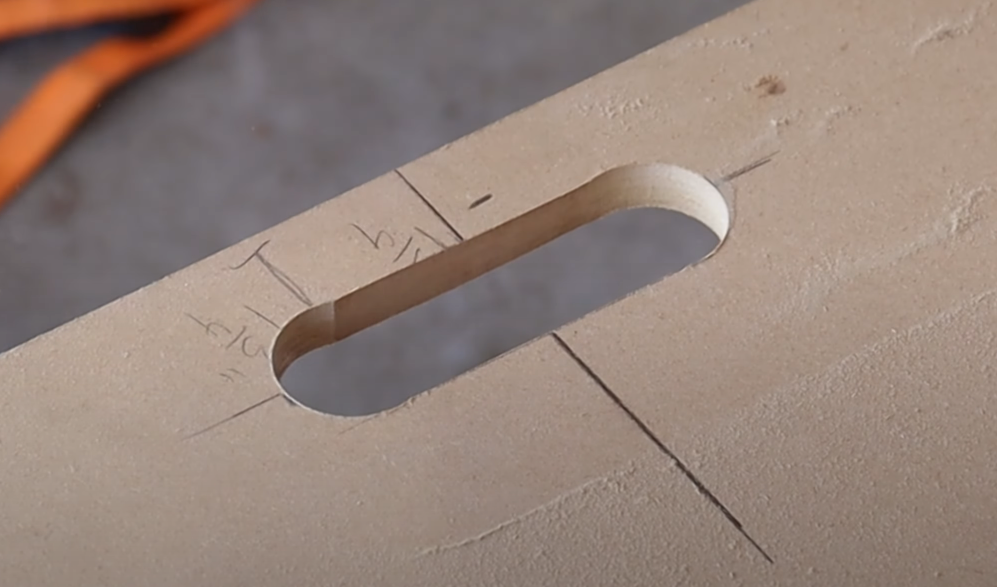
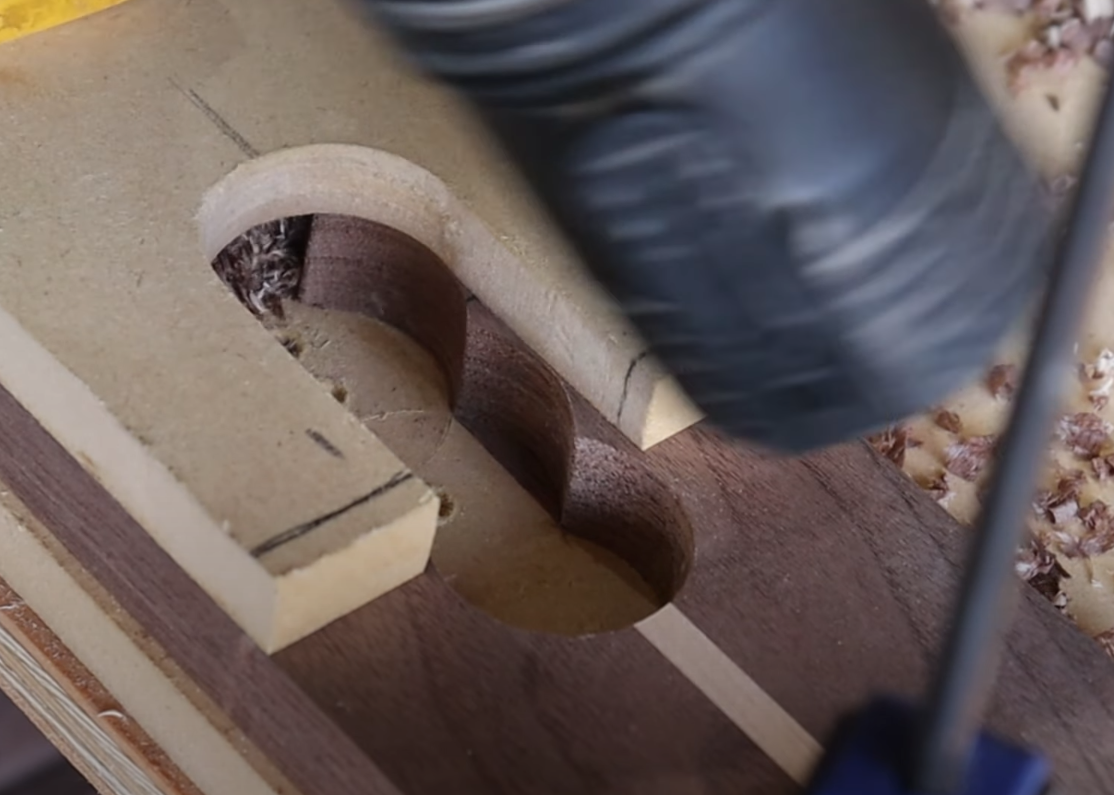
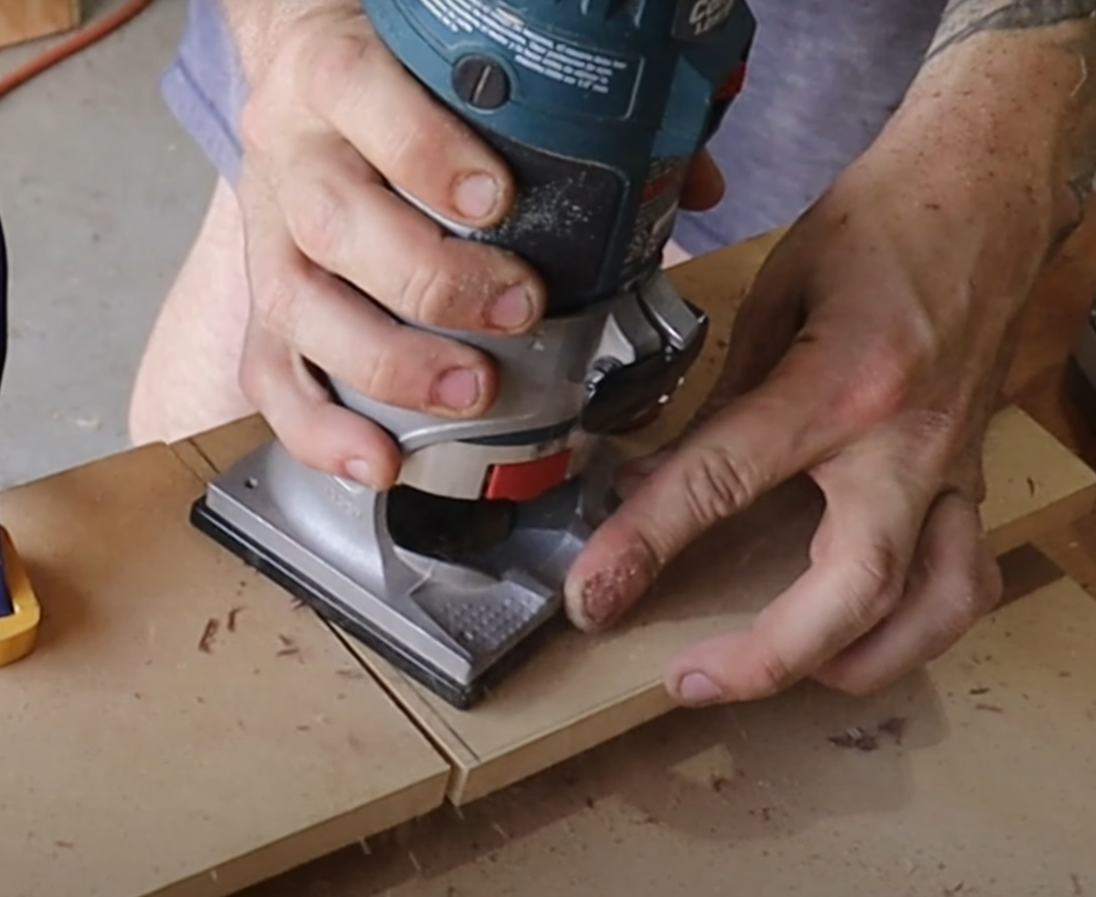
Eventually, I cleaned the one side up using a spindle sander, which made the holes slightly bigger than I wanted, but not horrible. After having the first piece cleaned up, I used it as a template for the second handle. I drilled out a few holes, made an awkward jig to avoid any movement, and used a flush trim bit to match the hole onto the other piece. Once completed, I clamped the two pieces together and cleaned up any marks on the spindle sander. In the end, the handles worked great!


Behind the Scenes Tip: Always test your router setup on scrap. And never underestimate the importance of a solid jig.

📐 Bonus Project: Scrap Coasters
While avoiding the frustration of the handle mistake, I took some offcuts from the sides and turned them into a matching set of coasters. It’s a great way to get more mileage out of your materials, and these little side projects can actually become sellable on their own.
If you’ve got leftover hardwood from other builds, coasters are a quick and rewarding way to use them up. You can check out how I made the coaster set in the full video tutorial here.
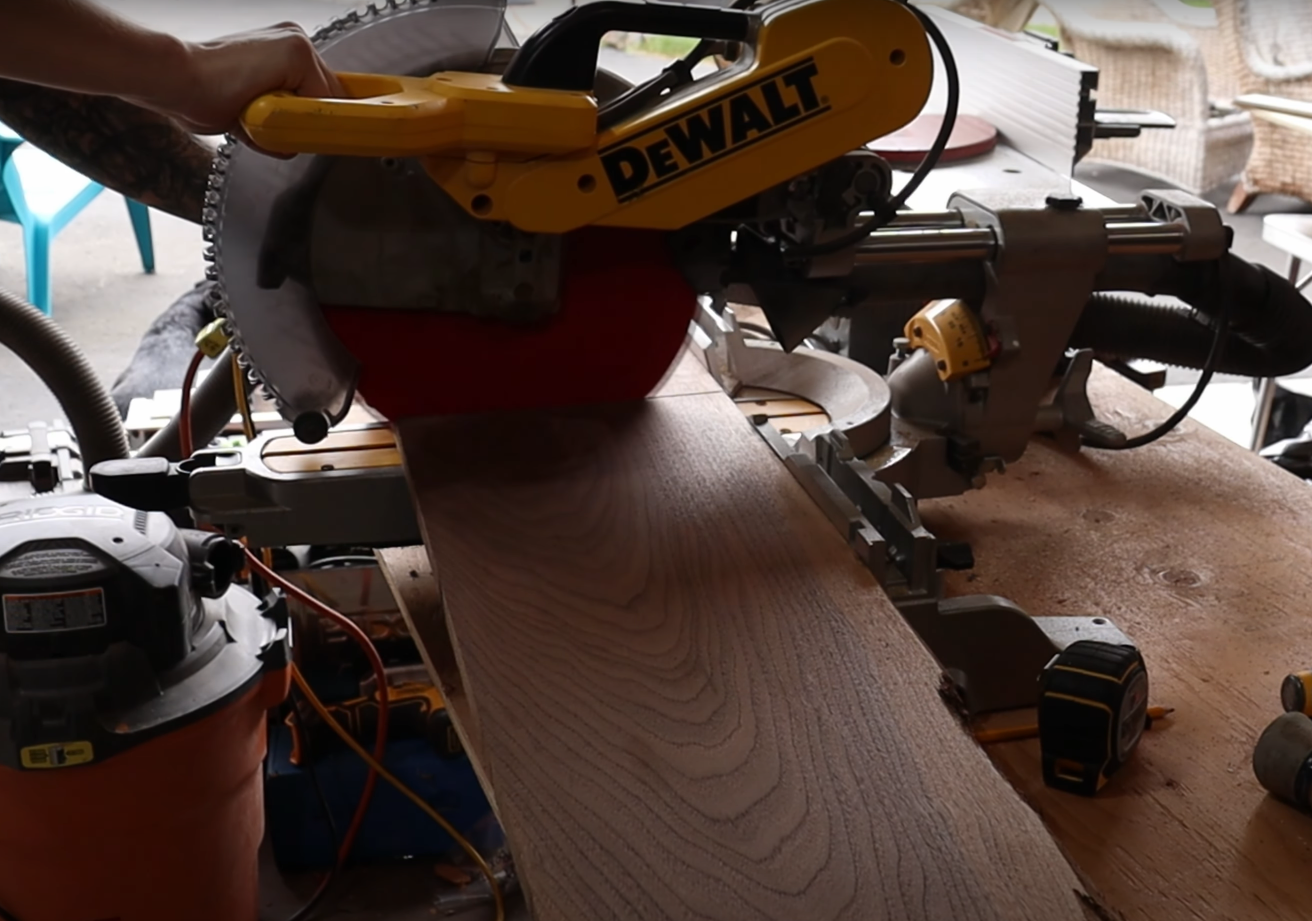
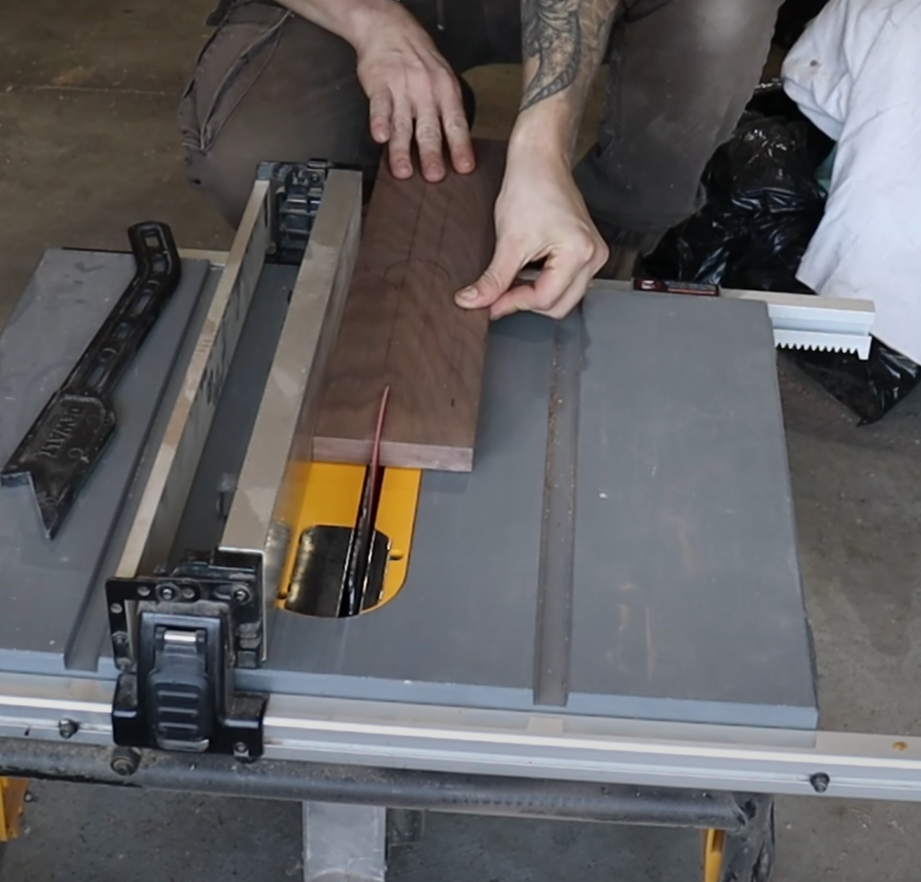
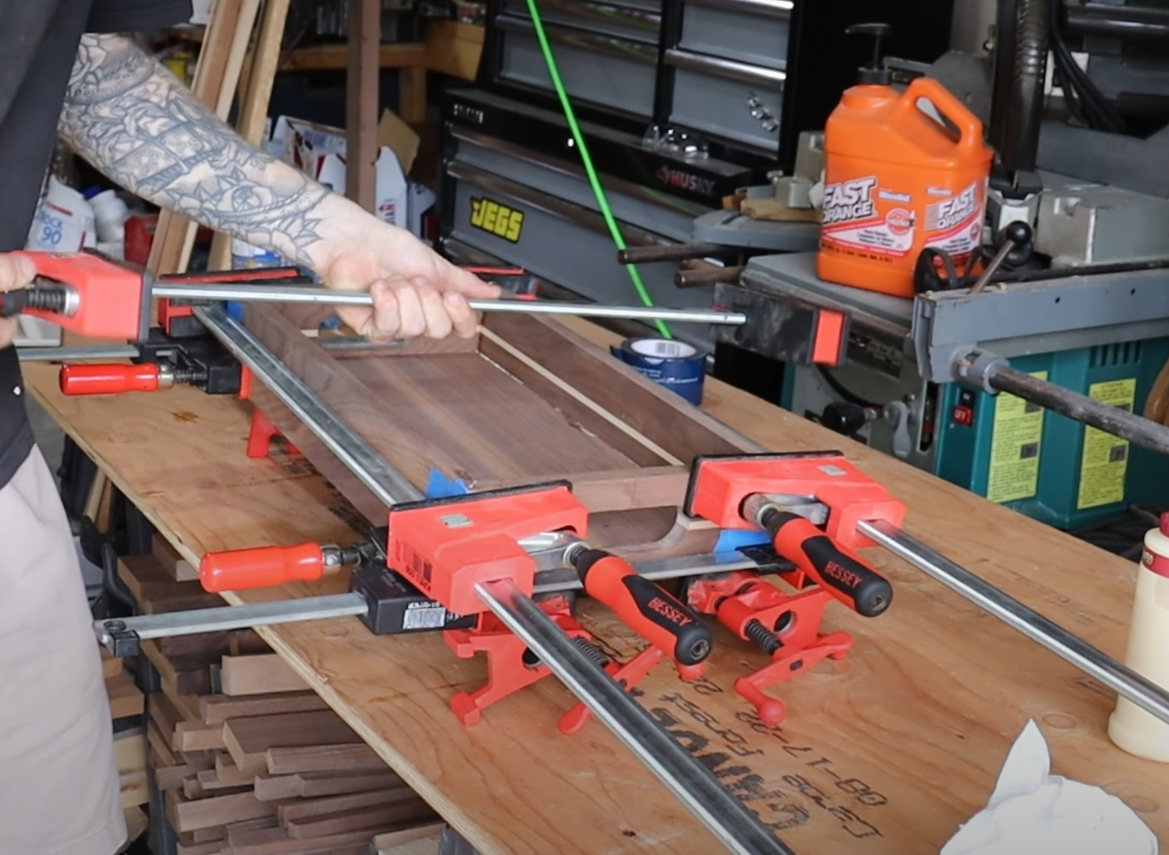
✂️ Step 6: Mitering the Sides
Miter joints can be tricky, and I’ve never been great at them. My first set of 45° cuts I tried standing up on my miter saw and they ended up coming out incorrectly, which required me to recut all four sides, along with the tray bottom to match the revised dimensions. (only a bit smaller)
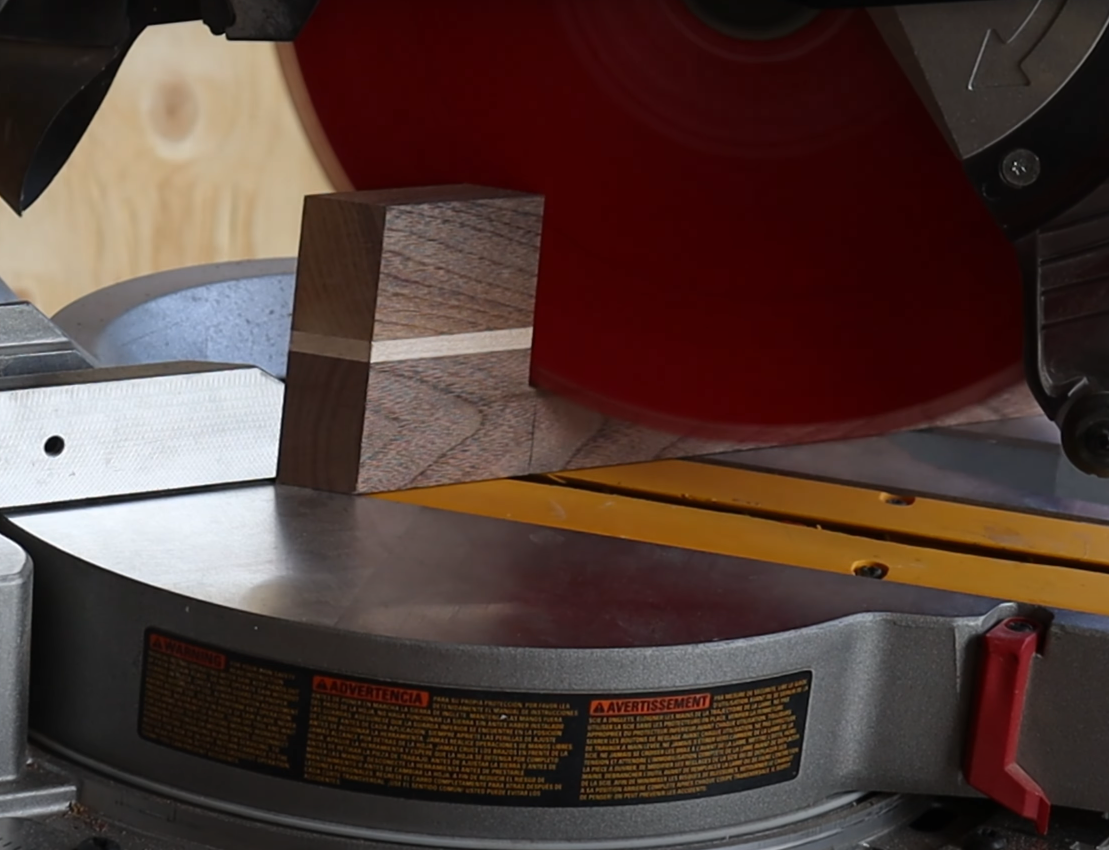
INCORRECT MITOR SETTING

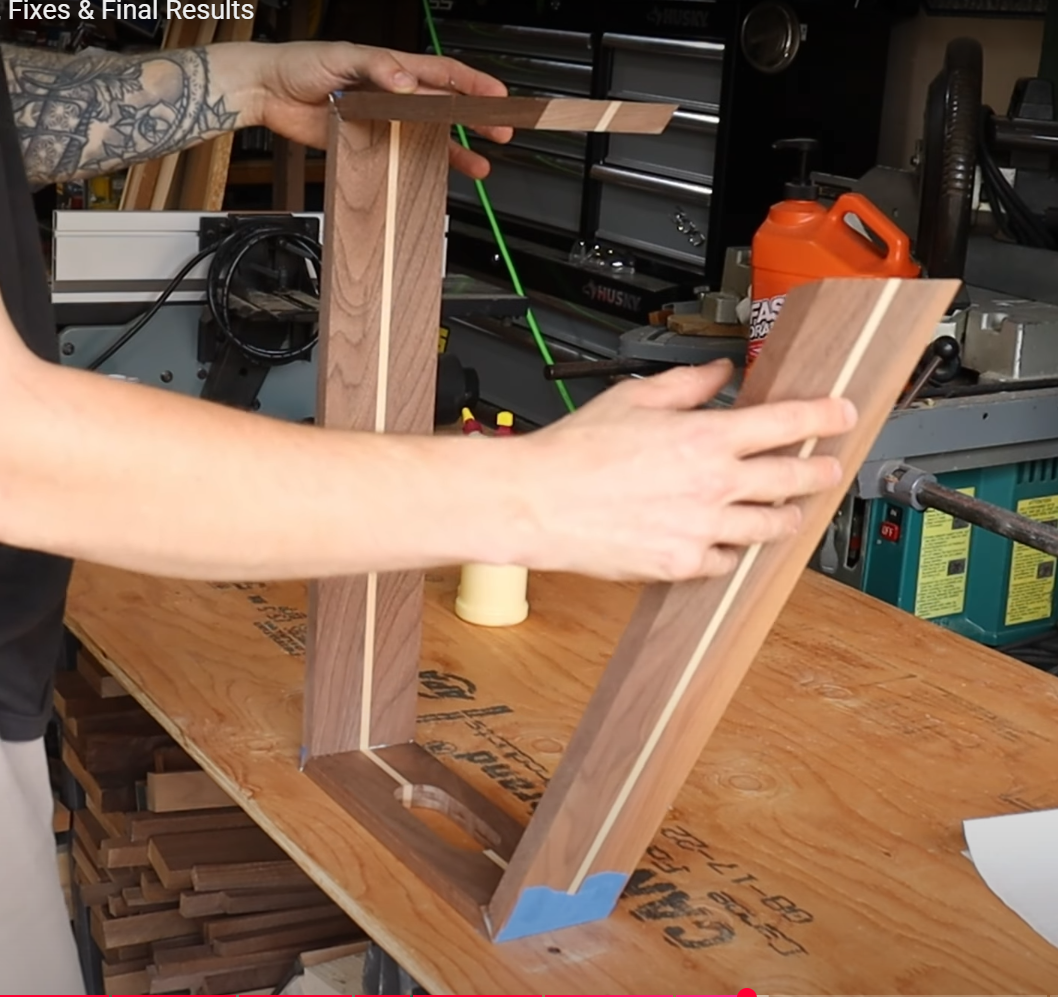
I decided to turn my saw to make a bevel cut, which got me clean miters. To prep for glue-up, I turned the pieces so the outside face was pointing up and lined all of the miters up to each other in the order I wanted them. I then applied painters’ tape across the joints, which will allow me to fold them into a box for glue-up. If you’ve never tried the tape method for mitered corners, it’s a lifesaver (unless you forget to add glue to one side… like I did). I will skip the issues that came with my glue-up in this blog post, but if you’re interested in watching the chaos, you can watch the full video here.

🧴 Step 7: Sanding & Finish
NOTE: If you’re having trouble with gaps in your miters, I show a fix in the video here.

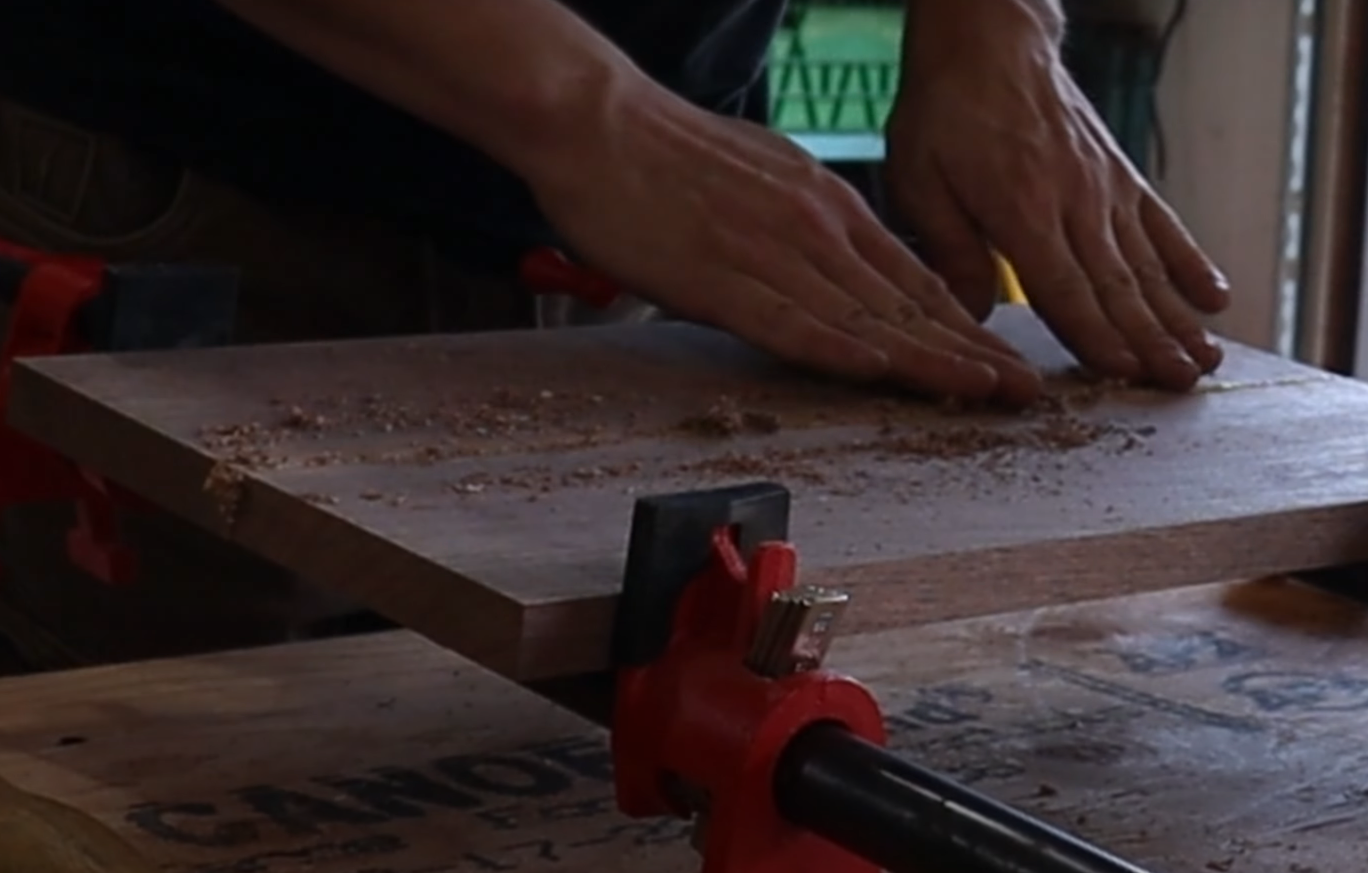
I sanded the tray through several grits (80 → 120 → 150 → [raised grain] → 220) and used pencil marks to track progress. For raising the grain, I sprayed water and wiped it down with a paper towel on all sides. Once it dried, the smooth surface turned into a rough one (the grain raised). Now, when I sand with 220, the grain will get knocked back down, and if this board comes in contact with water in the future, it shouldn’t get rough like that again!
For the finish, I went with Tung oil, which gives a rich depth to walnut and makes sapwood glow. It’s not food-safe until fully cured, but once it is, it’s great for trays.


Tung Oil Bonus: I noticed it hides glue squeeze-out better than most finishes, which is great if you have some squeeze-out you couldn’t sand away (like I did).
💡 What I’d Do Differently Next Time
Make a better handle jig and use a router table.
Use smaller clamps… mine were overkill and made glue-up stressful
Find a better way to avoid glue squeeze out on the inside corners.
Use a rabbet joint for the base (I used a butt joint because I have had success in the past with it on trays)
Final Thoughts & Results!
This tray didn’t go perfectly, but honestly, that’s half the fun. Woodworking isn’t about flawless execution every time — it’s about problem-solving, creativity, and learning. And now I’ve got a tray (and some coasters) that look beautiful and have a story behind them. I can also confidently say this is my favourite tray I’ve made. That sapwood swoop on the side is so beautiful.
Want to Build This Yourself?
If you want to try making your own wooden serving tray with handles, here’s a quick material and tool list:
Materials:
Walnut board (approx. ¾” thick)
Maple for accents (optional)
Wood glue (Titebond)
Tung oil finish
Tools:
Jointer & planer
Table saw & miter saw
Biscuit joiner (optional but helpful)
Router (with flush trim bits)
Forstner bits
Clamps (lots!)
Orbital sander & sandpaper
🛠 Interested in Buying One?
If you like this tray but don’t want to build it yourself, check out my Etsy shop where I list handmade walnut serving trays and other unique hardwood pieces.
🎥 Watch the Full Video
If you’d prefer to follow along visually, watch the full tutorial on YouTube! You can find the full build video here.
👋 Let’s Connect
Got questions about the build or want to share your own tray project? Drop a comment below or tag me on Instagram @leftonredin.