How to Turn Scrap Wood Into Profitable DIY Incense Holders
If you’ve ever made a cutting board, you end up with those edge scraps that most of us toss in the bin. But what if those offcuts could become something functional, beautiful, giftable, and even profitable?
In this blog post, I’ll walk you through how I turned my cutting board scraps into handmade incense holders that could easily be gifted or sold, with a potential $ value provided at the end.
If you're more of a visual learner, I have a full video which is included at the end so you can follow along step-by-step after reading, or if you want to skip the reading, you can watch it here.
What You'll Need
Tools:
Table Saw
Miter Saw
Router or Router Table (or DIY setup)
Round Nose Plunge Bit (5/8")
Round Over Bit (1/8")
Drill with 3/32" drill bit
Orbital Sander (optional)
PPE (Dust & eye protection)
Materials:
Hardwood scraps (from cutting boards or any project)
Sandpaper (80, 120, 150, 220 grit)
Tung Oil
Foam Brush
Rags
Step-by-Step Guide
3. Rip and Resaw to Size
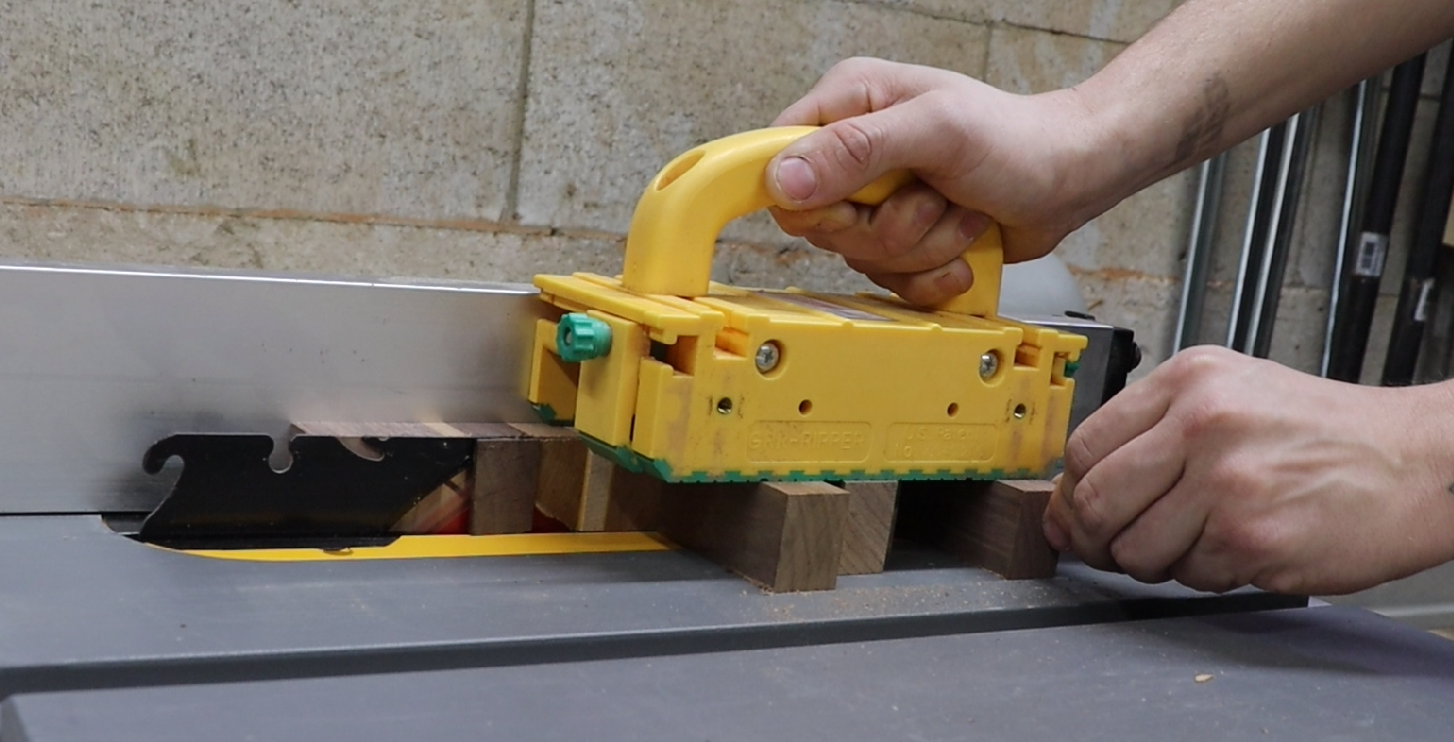
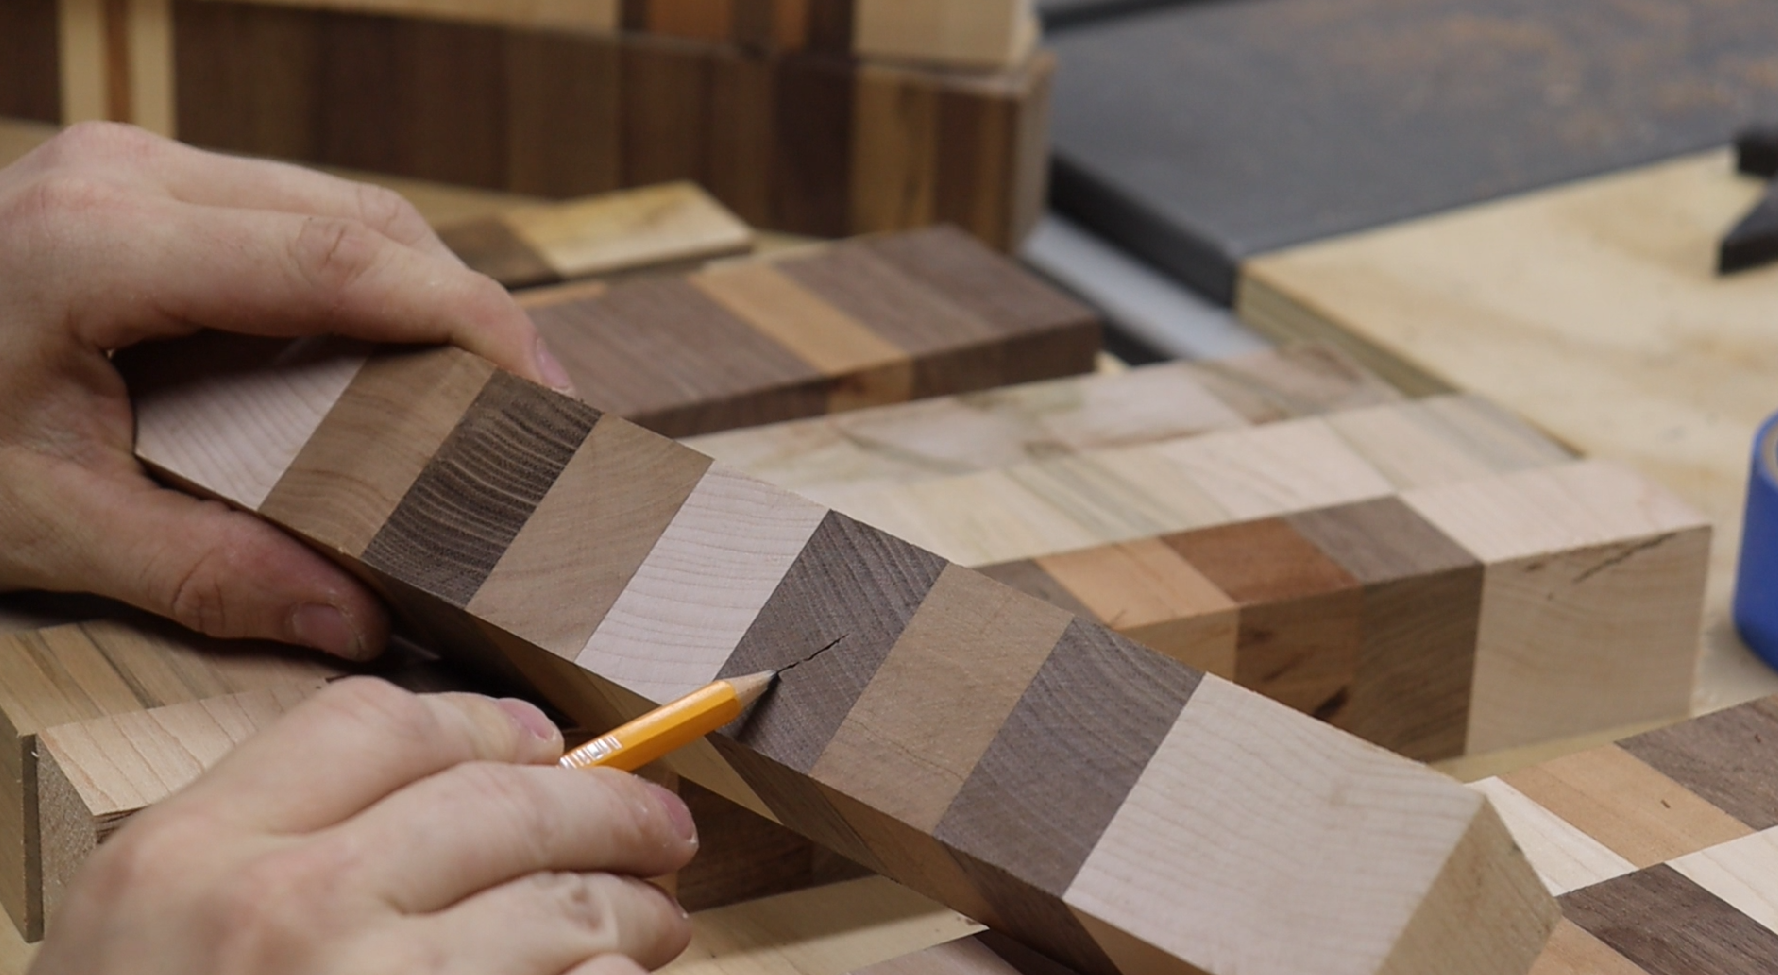
Cut each blank into pieces approximately 1-1/4" wide and 3/4" thick. I was able to preserve the end grain on the top for added visual character. Depending on imperfections, I often got two usable incense holders per board scrap.
5. Route the Incense Ash Groove
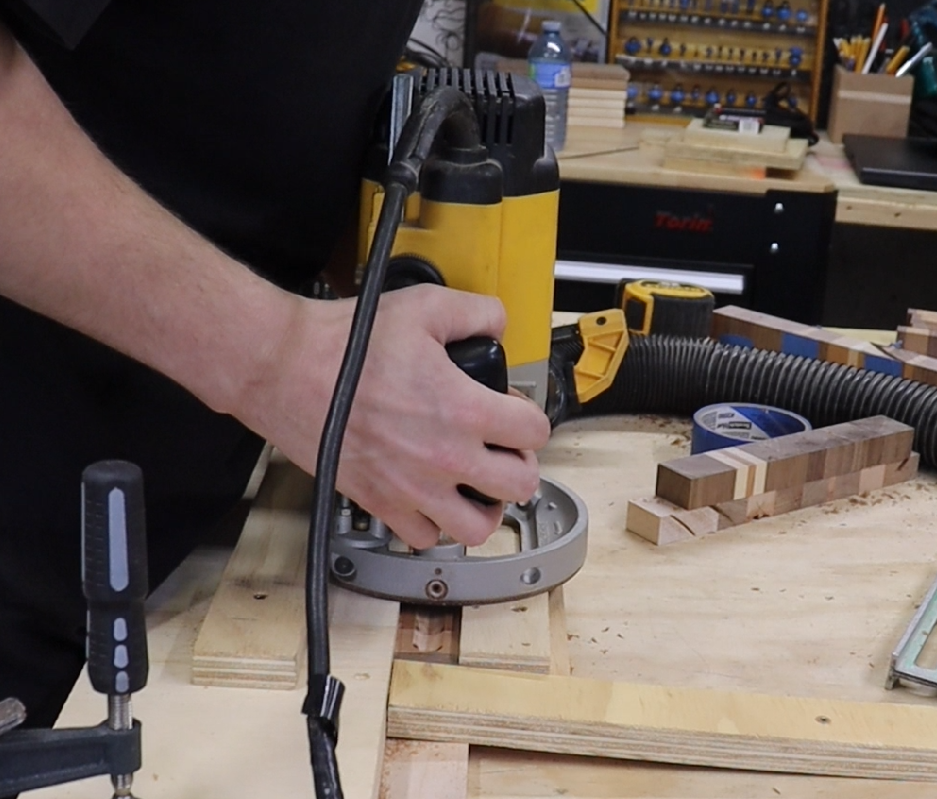
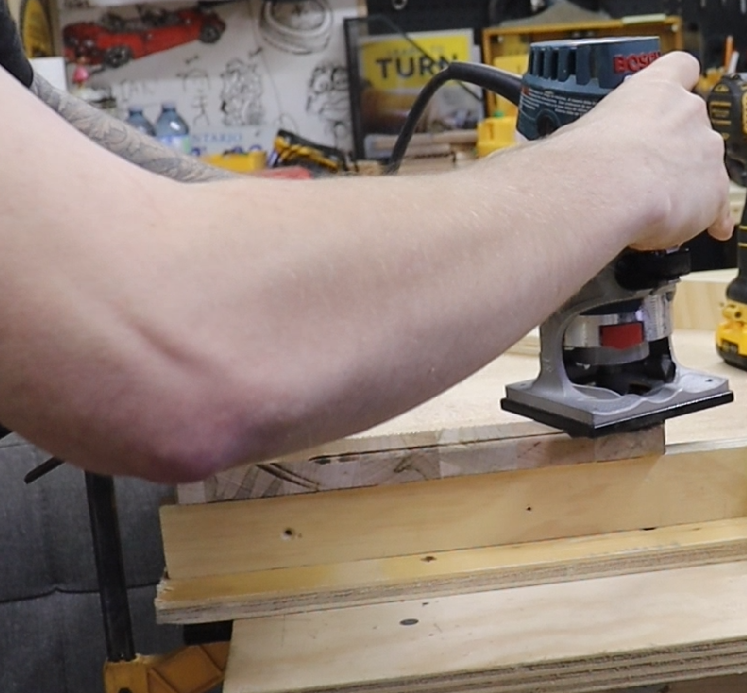
Using a 5/8 round nose plunge bit, route a groove into each holder. I placed mine roughly 1-1/4" from the top and 1/2" from the bottom. Group pieces by width to minimize fence adjustments. I recommend vacuuming between passes to ensure a nice flat surface if not using a router table.
6. Shape the Edges
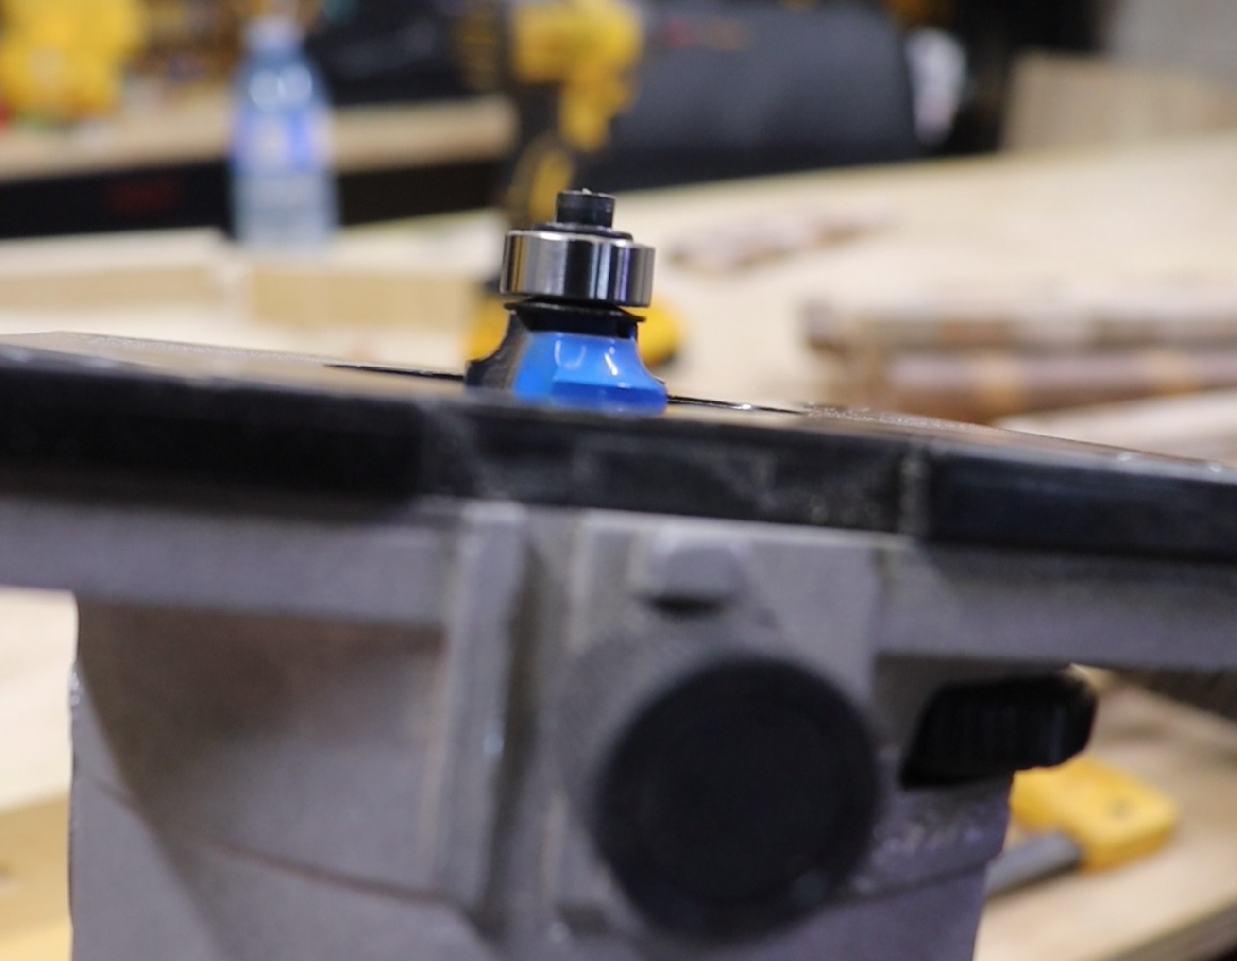
Use a 1/8 round-over bit to soften all edges. For the top and sides, go shallow for a simple round over finish. For the bottom, deepen the bit slightly to create a "hover" effect with a flat shelf that sits nicely on any surface (not sure the correct term for this to be honest). I recommend testing this on a scrap piece before the finished piece to dial in your setting.
8. Drill the Incense Hole
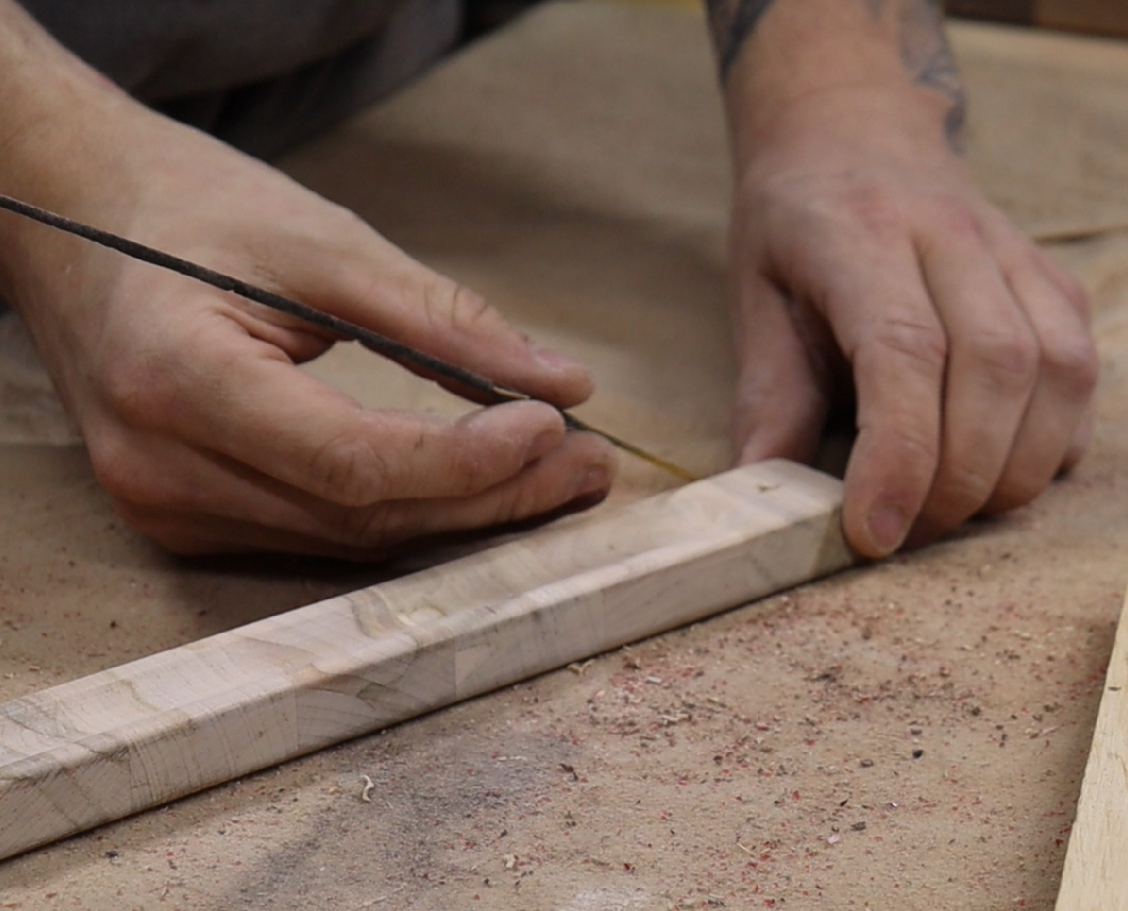
Mark the center of the groove and drill a shallow starting hole vertically using a 3/32” drill bit. Align an incense stick, making sure it doesn’t go past the length of the piece and at your desired angle. Copy that angle with your drill, making sure to stay straight with the ash groove and not going too deep to pierce the side or bottom.
8. Sand Everything Smooth
Start with 80 grit only to remove deep imperfections, then move through 120, 150, and finally 220 grit (180 is optional). I stuck some sandpaper onto a scrap plywood piece for the 120 grit to help start the sanding on the bottom edges from the router. For the next grits, I just folded a piece. As for the groove, the ends were easy to do with my thumb and twisting my wrist. On the groove itself, I used a round rubber piece from my spindle sander, wrapped in sandpaper but by hand or a dowel would work fine. Using an orbital sander is optional; I started with one but switched to by hand because the vibrations were too much. This is when a good-quality sander shines.
If you have issues with router burn in the groove, watch the Youtube video for my fix.
9. Finish with Tongue Oil
Apply a thick coat of tung oil with a foam brush. Let it sit for 15 minutes, then buff with a rag. Let it dry for 24 hours and repeat for a second coat. It brought out incredible color depth, especially in walnut. For more shine, continue applying more coats (Note: Follow the instructions on your finishing product, regardless of whether I suggested otherwise).
The Final Result
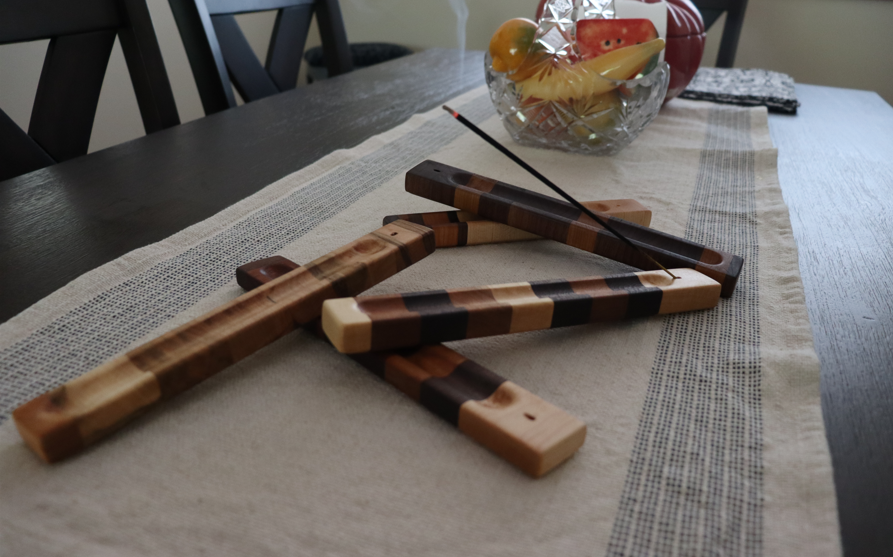
The finished incense holders came out beautifully. Based on Etsy research, I could price them between $20–$30 each. With 24 pieces made from my scraps, that's a projected return of $480–$720 (not including labor).
Whether you’re looking for a fun gift, a product to sell, or just a way to get more from your scraps, this is a perfect beginner-friendly project with real potential.
🎥 Watch the Full Video Tutorial
More Scrap-to-Profit Projects Coming Soon!
If you liked this build and want to see more ways to turn leftover materials into useful products, make sure to subscribe on YouTube and follow the blog for updates.
Got a cool idea for what to make from cutting board scraps? Let me know in the comments!
